
How to connect your computer to TV: Ways to connect via cable or Wi-Fi
 Modern TV can be used as an external monitor for a personal computer or laptop. And they can be connected not only by cable, but also through a wireless connection.
And if your TV is also equipped with Smart TV support, you can add it as an additional device to your local network and exchange data with it directly from Windows Explorer.
How to connect the TV to the computer, which methods are preferable and what are the difficulties the user may encounter?
Contents .
Why do you need to connect your TV to your computer in the first place
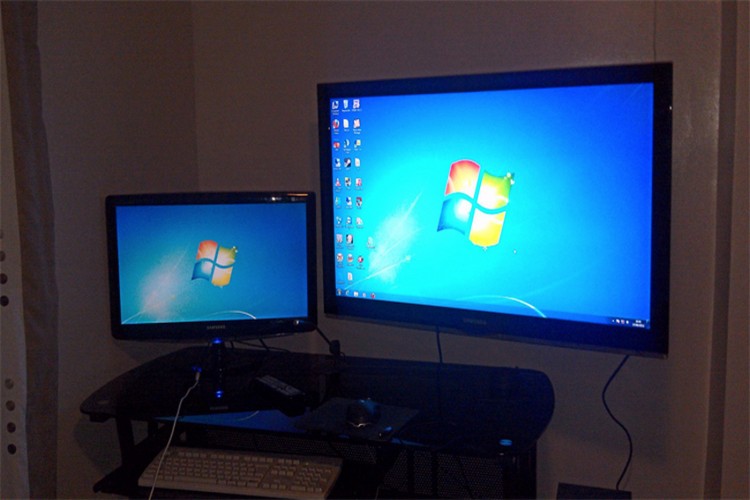
Basic scenarios how you can use this in practice:
- Use the TV as an external monitor. You will be able to duplicate the image from the main display or get an extended desktop. This is useful, for example, when working with video editors (Adobe Premiere, Sony Vegas) or trading terminals (MetaTrader and similar). After all, the user will get more working space for window layout.
- View high-definition video on the TV screen. Most consumer monitors do not support technologies such as Dolby Vision, HDR 10 Pro, Ambient, which allow you to watch movies without loss of quality at all. But in today's TVs, they are everywhere.
- Connecting the TV to your computer is sometimes required to update the TV firmware. You can also quickly transfer data from the hard drive to the TV's internal memory.
Connecting the TV with a cable
The following connection options can be distinguished (available depend on which ports are available in the TV used):
- HDMI;
- VGA;
- DVI;
- RCA;
- S-Video;
- LAN (RJ-45);
- USB.
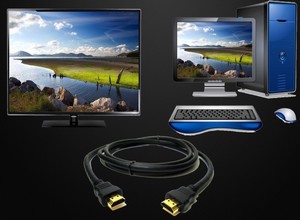
HDMI
The HDMI port is designed to transmit digital images and multichannel audio. That is, you can use it to output a "picture" from your computer to your TV.
The main advantage of HDMI is that it supports high resolution and refresh rates. You can transmit images up to 8K and over 120 frames per second.
To connect your PC to your TV with HDMI, you must:
- Turn off both the PC and the TV.
- Connect them with an HDMI cable. You must select the HDMI In port on the TV.
- Turn on the TV, then the PC.
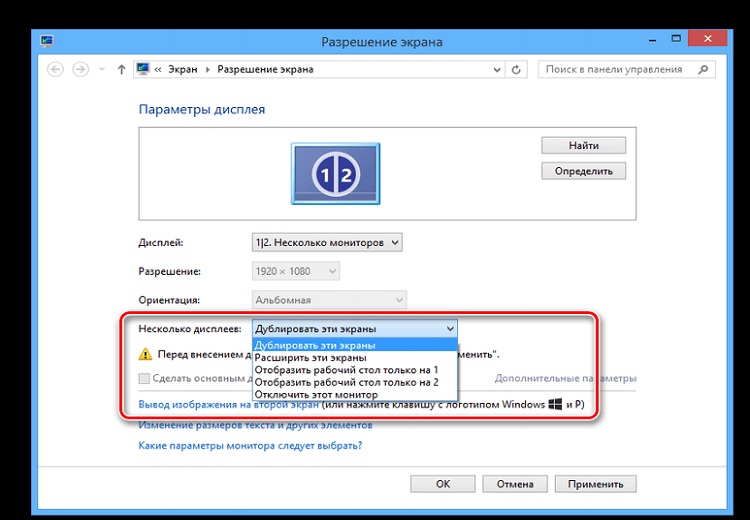
- Configure the picture output from the PC. In Windows 10 for this you need to open "Settings", go to "System", select the format of the picture output (duplicate or desktop extension), set the desired resolution.

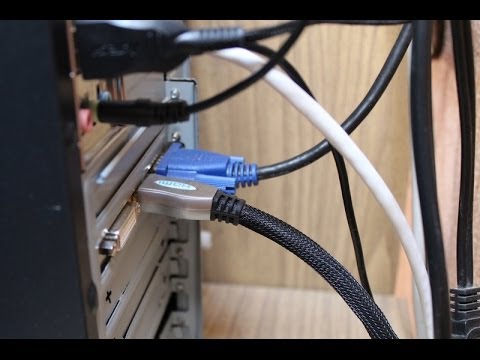
VGA
The VGA port is used to output high-definition analog images. But it does not carry an audio signal. Accordingly, the sound will have to be translated in any other way (for example, through RCA or by connecting the speaker system directly to the computer).
The connection and connection algorithm is the same as with HDMI. Except that the computer and TV do not have to be disconnected (the connector layout is such that the contacts cannot be closed).
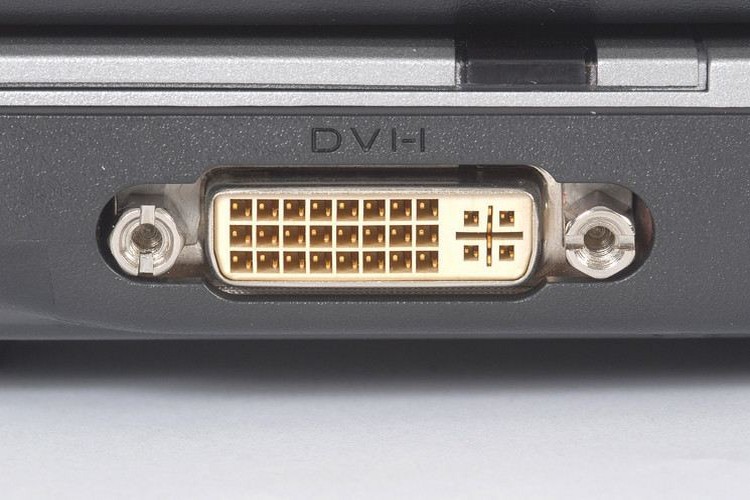
DVI
DVI is similar to VGA in technical specifications, but has several differences:
- DVI can transmit both analog and digital signals;
- If your TV supports only analog signal and the PC transmits a digital signal, then this connection will not work.
It allows you to output a picture in resolution up to 2K. But you need to use a compatible cable. And you have to be careful because there are 4 basic revisions of DVI (depending on what signal is transmitted: analog or digital).
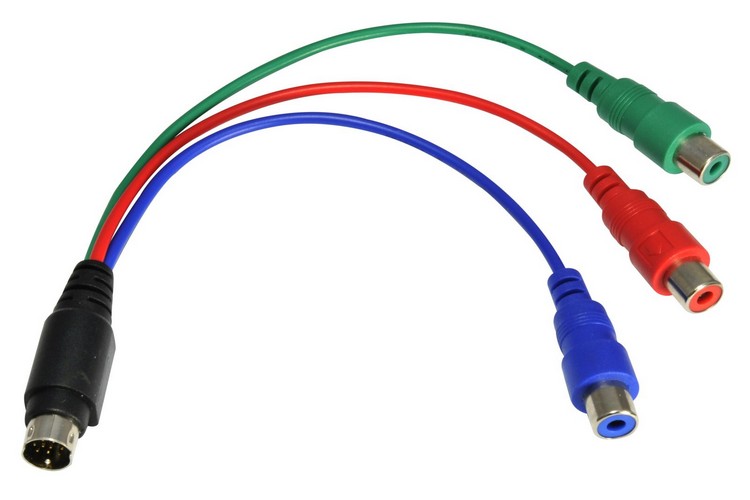
RCA
RCA is now considered an obsolete format for picture transmission. It is found only on very old video cards (until about 2005 - 2007 years of production).
Allows you to output and play analog images up to 576p resolution and audio (stereo only, without support for multichannel output).
Connection is as follows:
- Using a 3-connector cable (often referred to as a "tulip" cable), connect the TV to your computer. Be sure to observe the color sequence. The yellow cable transmits video and the red and white cable transmits audio.
- On the TV set, turn on RCA as a signal source. There is no need to adjust anything on the PC, you can't select the resolution either.
S-Video
In S-Video the picture is also sent in analog form. Works exactly the same way as RCA, but the sound is not transmitted. That is, it must be transmitted any other way.
Image setting is not available either, the resolution will be up to 576p.
LAN (RJ-45)
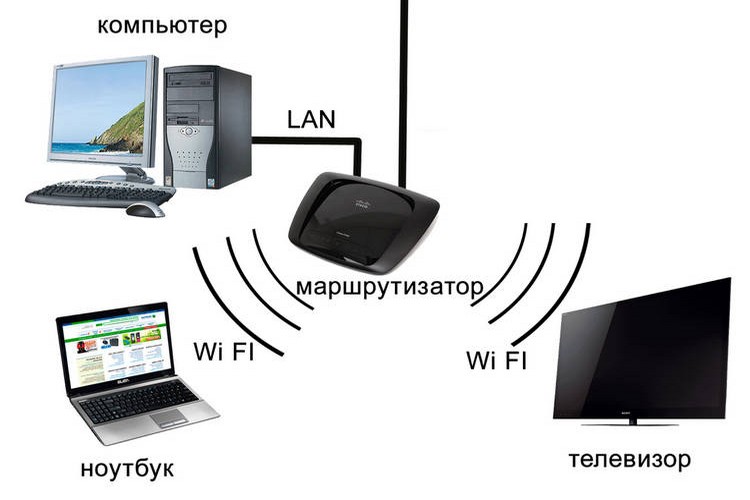
LAN port is only available in modern TVs that support Smart TV. Through it you can "distribute" from your PC to the Internet, or connect the TV to the local network. It is recommended to connect via a router.
That is, the connection algorithm is as follows:
- The PC is connected to the router (you can use cable, you can use WiFi).
- The router is connected to the TV via RJ-45 cable.
In this case the connection is configured through the router web interface. It is necessary to enable LAN, FTP, and DLNA support. Also you may need to enable DHCP (automatic assignment of the local IP address).
With this connection the TV will have internet access and you can also quickly dump files from your computer's hard drive to the TV.
USB
The USB connection allows you to quickly transfer files from your PC to the TV's internal memory. That is, the TV will be recognized as an external storage device or flash drive.
But this function is not supported by all TVs. For example, it is not available in WebOS. You will need a compatible USB cable to connect.
Connecting Your TV Wirelessly to Your PC
To connect wirelessly, WiFi is most often used. Accordingly, both the computer and the TV must be quite close to each other.
And if the connection is made through a router (this is most often the case), then it should also be no more than 5 - 10 meters away from the devices.
The main options for wireless connection:
- DLNA;
- Miracast or WiDi;
- Chromecast;
- Bluetooth.
DLNA
In this case, a local network will be organized between the PC and the TV.
And depending on the Smart TV functionality, you can:
- Exchange data via WiFi.
- Turn on video streaming from the PC hard drive (of course, the computer must be turned on).
DLNA connection is recommended to organize with the help of a router (which will act as an "intermediary").
Connection algorithm:
- Connect the TV to the router via WiFi.
- Connect your PC to the router (any way: via WiFi, cable).
Also DLNA and DHCP must be enabled in the router settings. Then you only need to open a LAN scanner application on the TV (e.g. X-Plorer), and enable the search for network devices.
And then you can connect to any computer in the local network via WiFi to copy files or stream video.
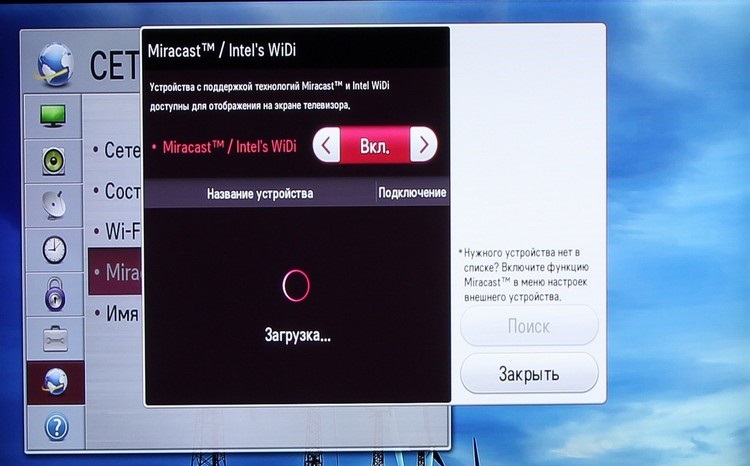
Miracast or WiDi
Miracast and WiDi are high definition wireless video streaming protocols. But it will only work if this technology is supported by the computer (namely its network card), and the TV (you can check the technical specifications on the manufacturer's website or in the manual).
Connection algorithm is as follows:
- Activate the function on the TV (in some models it is included in the settings, in others - always works).
- On the PC, open "Settings", then "System", select "Display", then - "Connect wireless display". The first time you use the feature, you may need to install additional Windows components. That is, you will be prompted to add them, you need to grant permission and wait for the installation to complete.
- Then from the list of detected wireless displays select the TV you want to connect to.
- Perform synchronization. Usually, the TV screen asks you to connect and you have to give your consent.
Chromecast .
This connection method can be used if you have Android TV installed on the TV. In this case, Chromecast is supported there by default.
The connection algorithm is as follows:
- On the PC run Chrome Browser. It is mandatory to use this browser.
- In the browser window, select the wireless display icon in the address bar. You will see a list of compatible devices to which you can send the image. Select the TV.
Note that only the contents of the browser window can be transferred in this way. In addition, the computer and the TV must be connected to the same WiFi network (i.e. a local network is automatically created between them).

Bluetooth
If you have a Bluetooth module in your computer, you can remotely control your TV with Android TV (version 8 or higher). You will also need to have a Chrome browser installed.
Connection algorithm:
- On the PC, turn on the Bluetooth device search. As a rule, it is enough to click on the appropriate icon in the tray with the right mouse button and select "Add device".
- Make sure that the TV is switched on and Bluetooth is activated in the settings (if any).
- Select the TV from the list of detected devices on the PC.
- Wait until the synchronization of the devices is completed.
In order to control the TV, you will need to either use the Chrome browser or install a third-party application (Chrome Web Player and similar).
Adjusting the picture after connecting
Setting up the image transmitted from the PC is done through the "Settings" section in Windows 10. Next, select "System", open the "Display" tab. There you can select the main monitor, output mode to multiple displays at once, change the resolution, and the refresh rate of the screen.
Only relevant for wired connection.
If an analog signal (RCA, S-Video) is being transmitted, it is not possible to adjust the image there. The video card is directly responsible for signal resolution, processing, and broadcasting.
Adjusting the sound after connection
When connecting to a PC via HDMI, an additional device will appear in the sound settings. This is the device to be set as the main one. This can be done in the Sound menu of the control panel.
If VGA or DVI is used, the sound is output to the built-in sound system of the computer by default. You can transfer it to the TV via a 3.5mm jack (you need a 3.5mm - RCA cable). Or you can simply connect an external speaker system directly to the PC.
When using WiDi, Miracast or Chromecast, the sound is adjusted on the TV itself. You can only change the volume, turn on the equalizer (if the TV supports this function).
Common problems and solutions
The most common problems that occur when you connect your PC to your TV are
- The image via HDMI, VGA or DVI is not full screen. It is recommended to choose "Display only on TV" in the connection settings, and then set the "native" resolution for the TV (to clarify the instructions, in most cases, 1920 by 1080 pixels).
- When connecting via HDMI, no sound is transmitted. This means that Windows default audio output is not through HDMI. You need to switch the main audio output in the "Sound" settings of the control panel.
- When connected wirelessly, the picture is not clear, artifacts appear. Most often it occurs because the devices are located too far away from each other. Or the router is trivially overloaded and can not cope with the transfer of the stream.
To summarize, it is quite realistic to connect your TV to your computer.
It is best to use HDMI for this, since this port is designed for high-definition video and supports 10-bit color coding. And if you believe the reviews, there are the least problems with this connection.
Useful video
To find out how to connect your computer to your TV, watch this video: